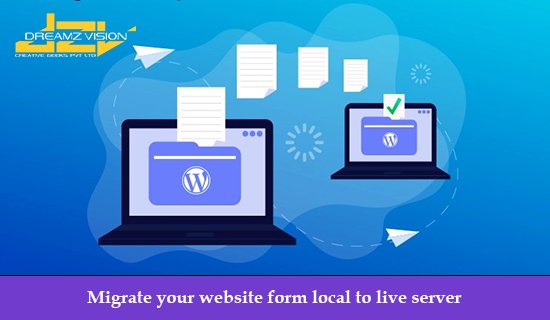
One of the benefits of using WordPress is the ability to easily develop and test websites locally before launching them to the world. In this tutorial, we’ll walk through the process of taking a WordPress website that’s been built and tested locally and moving it to a live server.
There are a few different ways to move a WordPress website from a local development environment to a live server, but one of the most straightforward methods is to use a plugin called “Duplicator.”
Step 1: Install the Duplicator plugin on your local WordPress site
The first step in the process is to install the Duplicator plugin on your local WordPress site. To do this, log in to your WordPress dashboard and click on the “Plugins” option in the left-hand menu. From there, click on the “Add New” button at the top of the screen.
In the search field, type “Duplicator” and hit enter. The Duplicator plugin should be the first result that appears. Click on the “Install Now” button to install the plugin.
Once the plugin has finished installing, click on the “Activate” button to activate it.
Step 2: Create a package with Duplicator
Now that the Duplicator plugin is installed and activated, it’s time to create a package that we can use to move our WordPress site to the live server.
To create a package, click on the “Duplicator” option in the left-hand menu of your WordPress dashboard. This will bring up the Duplicator dashboard. From here, click on the “Create New” button at the top of the screen.
The Duplicator plugin will now create a package that includes all of the files and database information for your WordPress site. This process may take a few minutes, depending on the size of your site.
Once the package has been created, you’ll see a screen with two links: one for the “Installer” and one for the “Archive.” The “Installer” is a PHP file that you’ll use to install the WordPress site on the live server, and the “Archive” is a ZIP file that contains all of the files and database information for your site.
Step 3: Upload the package to your live server
Now it’s time to move the package to your live server. There are a few different ways to do this, but one of the easiest is to use an FTP client such as FileZilla.
First, log in to your live server using your FTP client. Once you’re logged in, navigate to the folder where you want to install your WordPress site. This is typically the root folder for your domain (e.g., “public_html”).
Next, drag the “Installer” and “Archive” files from your local computer to the live server. Be sure to upload both files – you’ll need both of them to complete the installation process.
Step 4: Install the WordPress site on the live server
Now that the package has been uploaded to the live server, it’s time to install the WordPress site.
To do this, visit the URL for the “Installer” file in your web browser (e.g., http://www.yourdomain.com/installer.php). This will bring up the Duplicator installation wizard.
Follow the prompts in the wizard to complete the installation process. This will typically involve creating a new database and user for your WordPress site, as well as specifying the URL and path for your site.